Bananas were harmed in the making of this Banana Bread.

Banana Bread – Straight-up Betty Crocker recipe from the 1976 version of the Betty Crocker Cookbook. There doesn’t appear to be a publishing mark in the book, but this is the cookbook I bought for Peggy in Christmas of 1976, the year we were married. My mother had a Betty Crocker cookbook, and by gum, Peggy would have one, too. This is one well-used cookbook!
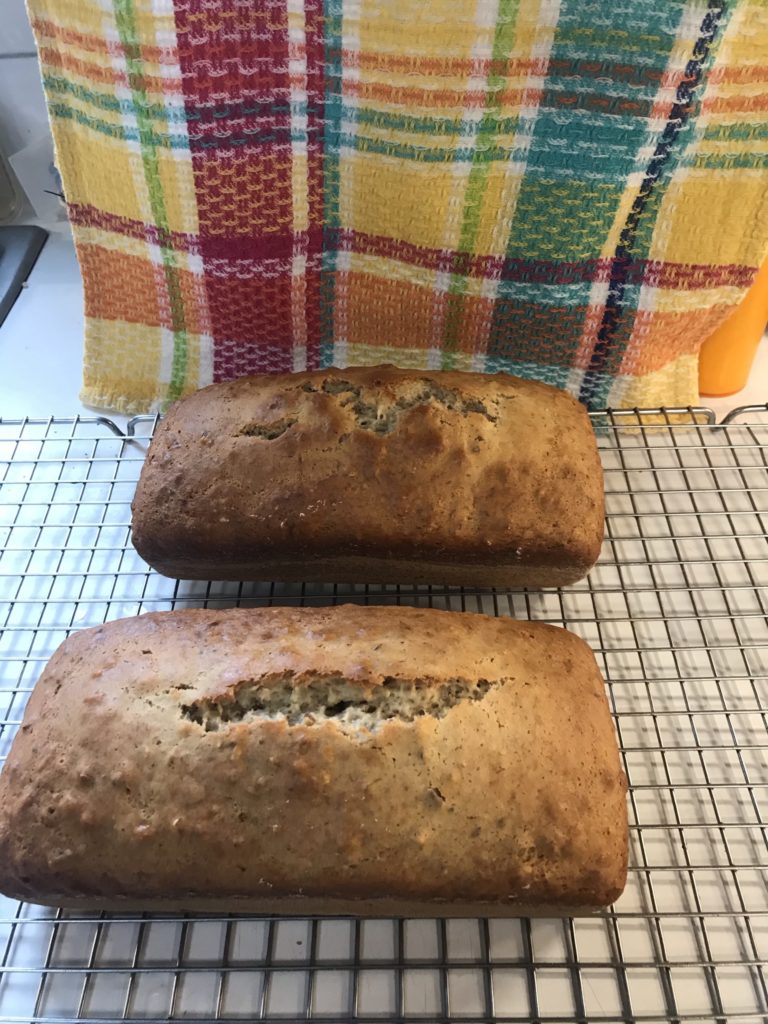
I thought I had a better photo…
  • 2 1/2 C All-purpose flour
  • 1 C granulated sugar
  • 3 1/2 t baking POWDER (that’s 1 T, 1/2 t for those keeping score at home)
  • 1 t salt
  • 3 T salad oil (I used canola)
  • 3/4 C milk
  • 3 bananas, mashed up (about 1 C) [1]
  • 1 egg
  • 1 C chopped nuts (I use pecans or walnuts)

Preheat oven to 350F. Grease and flour two small loaf pans (or one large loaf pan).

Mash the bananas with a fork, leaving the result lumpy. I mix by hand to avoid extra cleanup, add in the oil, egg, and milk. Add the sugar, nuts, and salt. Mix in the flour and baking powder, combining all well.

Divide batter evenly between the two pans. If you’re an annoying geek like me, you’ll use a kitchen scale to get the weights equal. To within 1/10 of an ounce. :).

Bake for 50 – 60 minutes, until a skewer or knife inserted in the center of the loaf comes out clean.

Please. Let it rest for a few minutes.

Enjoy!

[1] While the original recipe calls for 1 cup of mashed banana (about 2-3 medium), I find that there is no such thing as a medium banana. Also, as an engineer (and a damned Yankee), I don’t like waste, so I use three bananas. It’s about a cup. I know. Betty Crocker is rolling in her fictional grave.

Update for 2025: I find I typically use four bananas in this recipe now. It’s kind of banana-overload bread. It’s lush, sticky, and totally decadent.

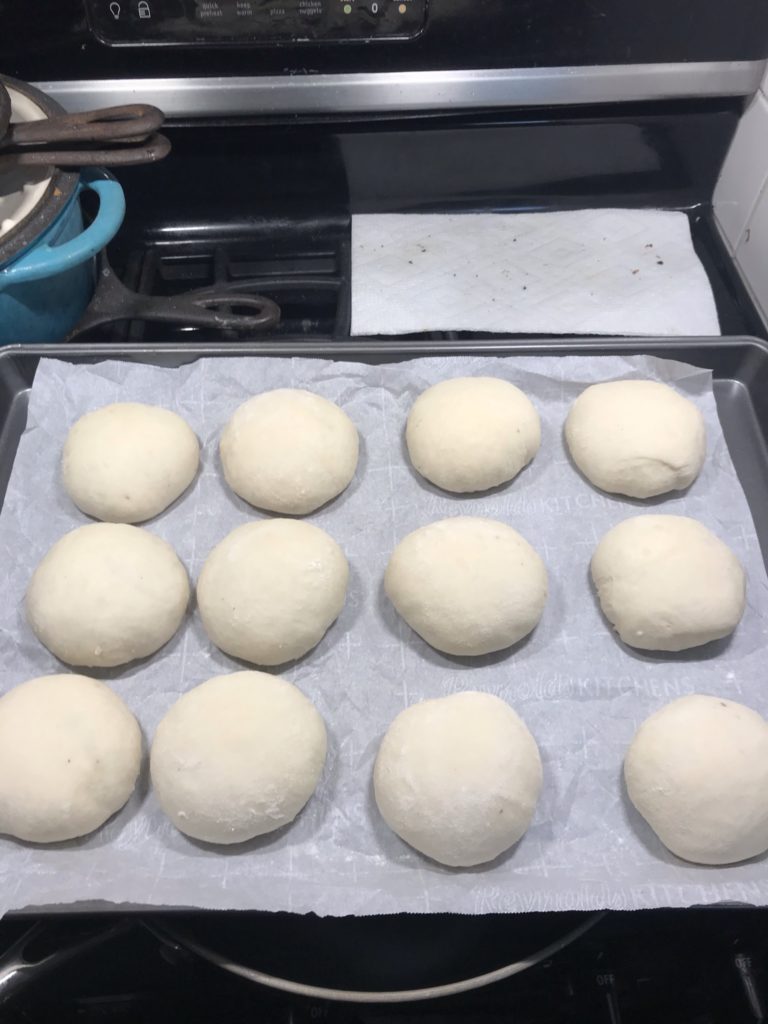
Dinner Rolls for Thanksgiving

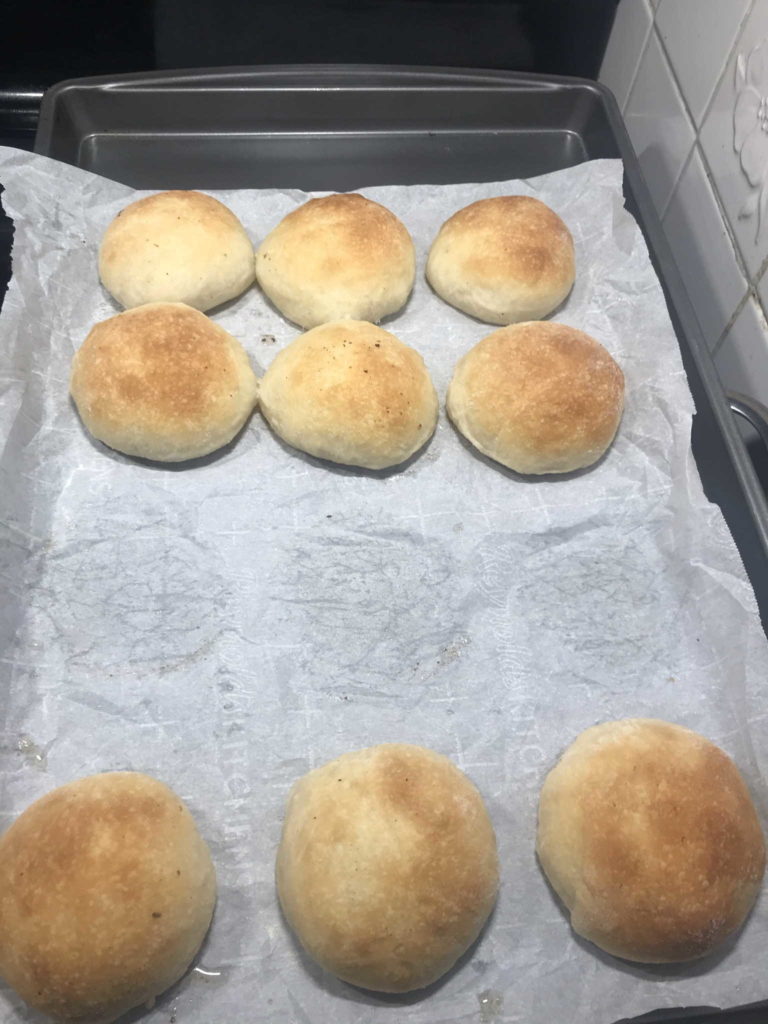
Ordinarily I’d just get some brown-n-serve rolls at the market, but to mix things up, I decided to make rolls from scratch.

There are only the two of us this year, so I’ve shot for a dozen rolls, which is severe overkill. My research involved nothing more than pulling down our trusty Betty Crocker cookbook from 1976. The recipe for their brown-n-serve rolls was halved and slightly modified, ending up with a yeast-rich dough:

  • one packet yeast (Red Star instant today)
  • 3/4 C tepid water – just warm – definitely not hot – shoot for about 100F
  • 2 T fat – I used bacon fat today, because – bacon
  • 2 T sugar
  • 1 t salt
  • 2 1/4 C bread flour

The original recipe calls for all-purpose flour, shortening, and half milk-half water mixture.

The mixing for this can be done by hand, but when one has a KitchenAide with a dough hook…

Dissolve the yeast in the warm water with the sugar and let it sit for a few minutes. If the yeast is alive it will start to foam, and the bread will rise. That’s important. If it doesn’t, get new yeast. Don’t waste your time.

Add the salt, fat, and about half of the flour to the mixing bowl and mix until a smooth batter is achieved. Gradually add most of the remaining flour until a soft dough is formed.

Flour a surface and turn the dough out onto the flour. Knead for five minutes, adding more flour if the dough is still sticky. Place dough in a greased bowl and cover with a damp tea towel. Place in a relatively warm, draft-free area, and let the dough rise until it’s about twice its volume, about 1-2 hours.

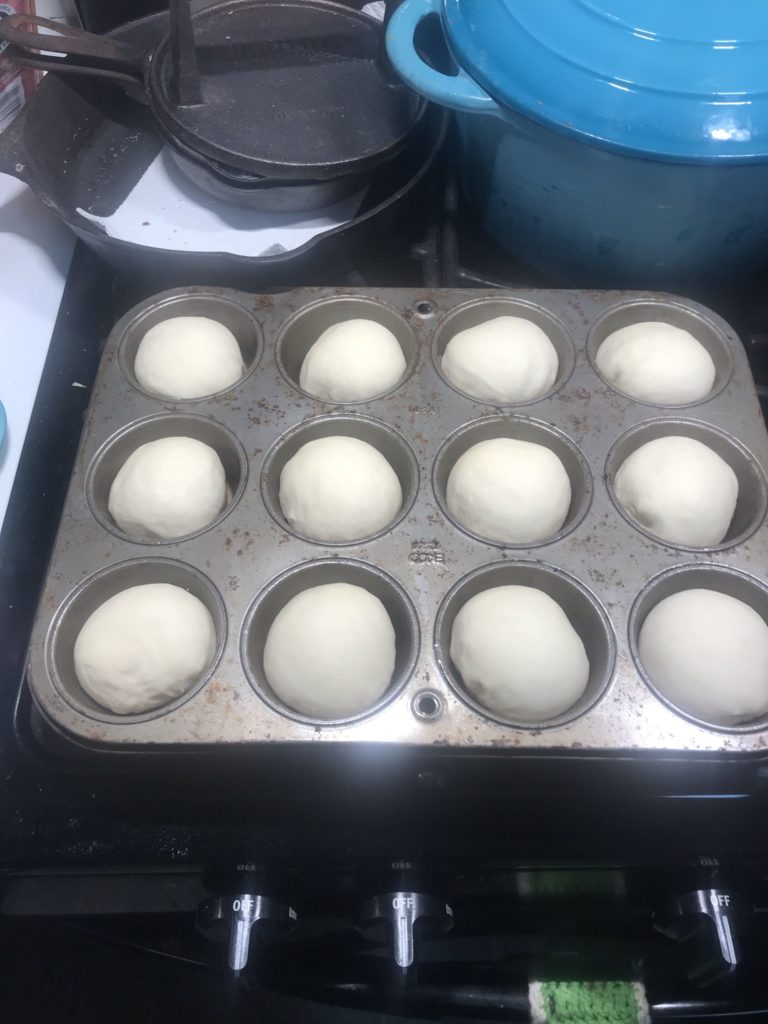
Punch the dough down to release the gas that’s built up, and divide the dough into twelve equal portions. Form each portion into a ball, stretching the dough to the bottom, pinching the dough sealed there to form a smooth roll surface. Place rolls in a muffin tin. Cover with the tea towel again, and let the rolls rise again, until about doubled.

Brush rolls with melted butter ( or bacon fat, because – bacon), and bake at 375F for about 15 minutes.

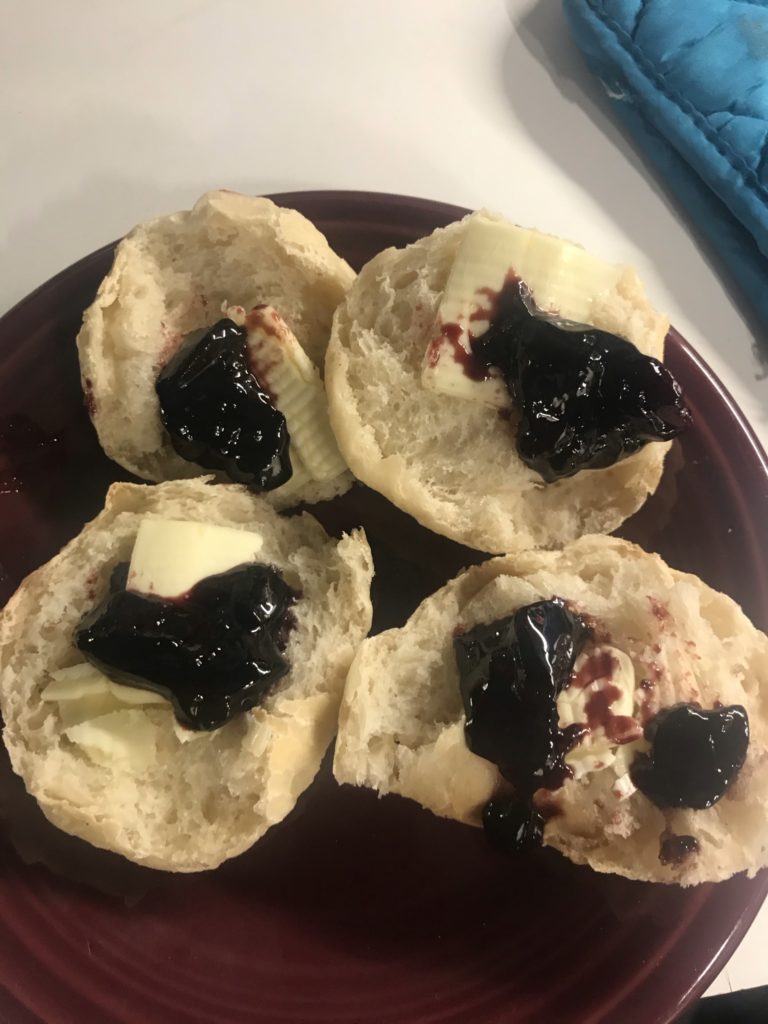
I recently found some elderberry jelly at a folksy roadside stand, and boy do these play well… oh, yeah, we had to test some of the rolls.

N.B. These rolls were not done in muffin tins. Nor were they created under the most auspicious conditions for yeast bread. They were half through the second rise when we had an unexpected trip to the Emergency Department in Boston, so they suffered an interrupted rise. The crumb was not as good, the texture was just OK, but they sure do taste good.

I’ll check back in after Thanksgiving…

I didn’t take many pictures on Thanksgiving. I think I was busy. I need an entourage… But this time, I used the muffin tin, and they turned out beautifully, but no photo, no proof. I didn’t get a picture of the turkey, either, and it should have been a turkey pin-up, it was so pretty.

I had a bear of a time with the other two packets of Red Star yeast. Neither of them rose! I ended up at the market with the choice of Pizza Yeast or a pound (a pound) of proper yeast. I know the shelves are rather sparse, but that choice was asinine.

I found in subsequent batches that using about 2 C of the 2 1/4 C of flour in the initial mixing is just about right. The other quarter cup can be kneaded in as necessary to get the right dough texture.

.

Spatchcocked Chicken

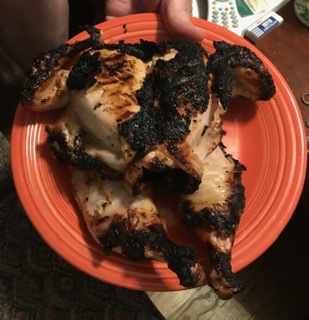
SO easy. SO good. SO moist.

I was at the market doing the weekly shopping and saw a “spatchcock” chicken on display, all ready to go. For $18. Right next to it was a chicken likely out of the same hatch, unmolested, for $9. Hey, I’ve got scissors.

It’s rather a pain to remove the chicken’s backbone, but a decent pair of kitchen shears makes it an easy task. One day I’ll buy some. I used a pair of blister-pack Walmart scissors to pretty good effect. Just cut down either side of the backbone and remove it. Then place the chicken breast side up and give it a good whack with the heel of your hand ( or a rolling pin!) to flatten it.

I marinated the bird in Ken’s “House Italian” dressing (also touted as a marinade) for about an hour in a gallon plastic bag, in the ‘fridge.

I fired up the big Weber as the tiny one is, well, just tiny. The chicken was grilled skin-side down for about ten minutes, and turned. After another ten minutes, it was flipped again. I continued to turn it at five minute intervals until the breast measured about 160F.

I’m gonna have to get a photo booth…

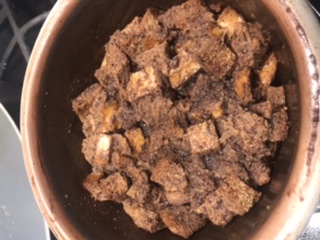
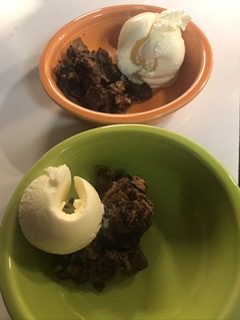
Chocolate Bread Pudding

When I was a kid, and we had stale bread (rare to have any bread with all those mouths…), Mom would whip up a batch of chocolate bread pudding. In fact, it wasn’t until after Peg and I married that I found out about bread pudding that didn’t have chocolate! Protected life, I guess. (And I strongly suspect Dad arbitrarily declared bread as “stale” whenever he wanted some pudding…).

For some reason I never got the recipe for that. My sisters are going to come back with “well I have it”, but I’ve come up with a recipe that I think comes close. It leans very heavily on a recipe I found online:

https://www.tasteofhome.com/recipes/chocolate-bread-pudding

This was excellent, but I increased the chocolate by 25%, the bread by about 30%, and subtly added butter by heavily buttering the baking dish. The original recipe also called for white bread with crusts removed (far too posh), while I opted for a 50 cent day-old loaf of Italian bread, crusts and all. Far more character, especially with that cornmeal from the baking peel.

Here is my version:

Preheat oven to 350F.

  • 2.5 ounces semi sweet chocolate (Baker’s this time)
  • 1/2 C half and half
  • 2/3 C sugar
  • 1/2 C milk
  • 1 large egg
  • 1 t vanilla extract (simply Organic is just lovely)
  • 1/4 t salt
  • 4 C bread cubes
  • 1 T salted butter

Melt the chocolate in the microwave or a double boiler.
In a large bowl, whisk together the sugar, milk, egg, salt, and vanilla extract.

When the chocolate is well melted, stir in the half and half, then combine the chocolate mixture with the milk mixture. Stir in the bread cubes, and let them rest to fully absorb the liquid.

Heavily butter a one quart baking dish (stoneware or glass), leaving the excess in the bottom of the dish. (Subtle, right?)

Bake for 30-40 minutes. A knife in the center should come out nearly clean.

Let it rest for as long as you can stand. Serve with ice cream, whipped cream, or creme Anglaise. Or all of them.

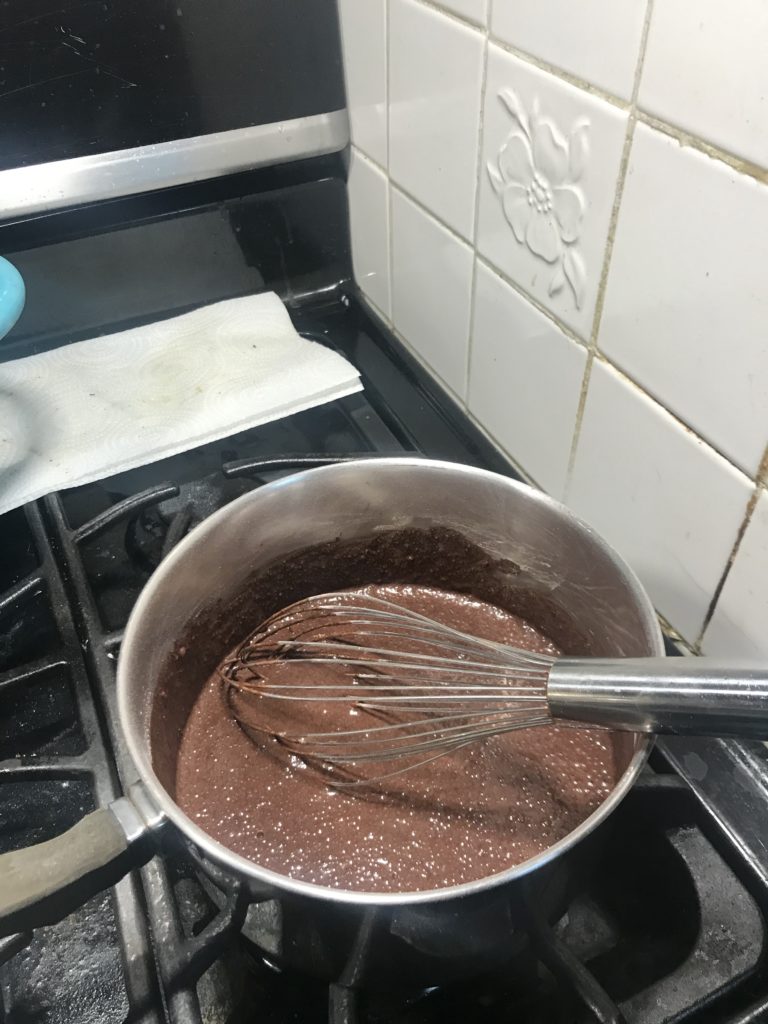
Cornstarch Pudding

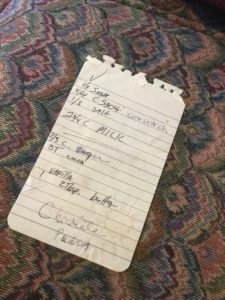
Peggy dredged this up from an ancient text (her recipe book when we were newly wed), and it strikes a chord with me. My grandfather Earle was a chemical engineer, and in one of his early jobs worked for Royal Pudding, developing the specific recipe or “formula” used to make Royal chocolate pudding, or so I was told. I think I know what went into the package…

Combine in saucepan:

For chocolate…

  • 2/3 C sugar
  • 3 T cocoa powder

For vanilla…

  • 1/3 C sugar

For all…

  • 1/4 C cornstarch
  • 1/8 t salt

Whisk dry ingredients together, then whisk in

  • 2 3/4 C milk

Stirring constantly, bring this mixture to a boil. Boil about a minute, until pudding thickens. Let pudding cool slightly, then whisk in:

  • 1 T vanilla extract
  • 2 T butter

Serve warm or cold. Pudding can be covered with plastic wrap to prevent the formation of a skin.

The original recipe page

I haven’t made this in years, but it’s a damned inexpensive treat for poor newlyweds!

Evelyn’s Rice Meatballs (Porcupines)

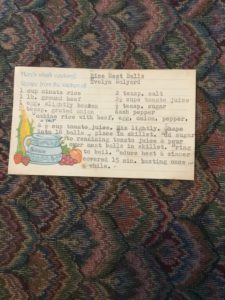
The original recipe card. Sis (Evelyn) typed that up on Peg’s typewriter.

Another recipe dredged from the annals of history. Along with my grandmother’s recipe for doughnuts, this old favorite was found as Peg was rifling through one of her old recipe books. It’s one of very few recipes her mother, Evelyn, ever wrote down.

  • 1 C Minute Rice
  • 1 lb ground beef
  • 1 egg, slightly beaten
  • 2 t grated onion
  • 2 t salt
  • 2 1/2 C tomato juice, divided
  • 1/2 t sugar
  • 1/4 t pepper

Reserve 2 C of tomato juice and sugar. Combine other ingredients. Form into 18 equal-sized meatballs. Place meatballs in a skillet. Mix the sugar and remaining tomato juice, and pour over meatballs.

Bring to a boil, then reduce heat. Simmer covered for 15 minutes, basting occasionally.

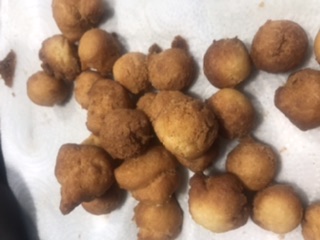
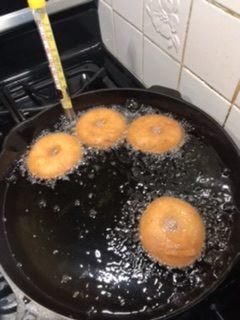
Grandma Rose’s Doughnuts

Oh, I remember these from my youth. I never got to meet my maternal grandmother, but Mom used to make these all the time for Dad. I was thinking about them a couple of weeks ago, wondering whether any of my sisters had the recipe. Unfortunately, all three of my sisters have recently moved residence. If they are like me (I suspect as much) the recipe books are hidden away in boxes that won’t be found until the next millennium…

Peg just happened to be thumbing through an old recipe book of hers. Lo and behold, this recipe showed up, along with several other treats from the past, like her mother’s recipe for “rice meatballs”, also known as “porcupine” meatballs. I just call that good karma…

But, for the doughnuts…

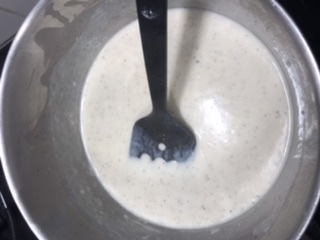
Mix together:

  • 1 egg
  • 1 C sugar
  • 1 C sour milk
  • 1 1/2 T shortening

Add:

  • 4 C flour
  • 1 3/4 t baking soda
  • 1 3/4 t cream of tartar
  • 1 1/2 t nutmeg

For glaze, mix 1/3 C boiling water to 1 C confectioners sugar.

Roll out dough on a lightly floured surface to 1/2 inch thick. Use doughnut cutter to cut doughnuts (and hole!). Re-roll scraps to make more donuts, and the final scraps can be fried as-is odd shapes.

Heat several inches of shortening in a deep skillet or fryer to 350F. Fry doughnuts until golden brown on one side, the flip and fry the other side.

Drain on rack over paper towels. Glaze when cool.

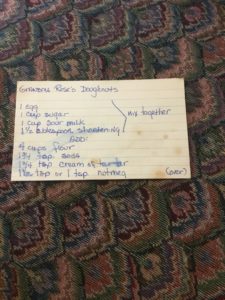
The original – but whose handwriting is that?

Simple Chocolate Sauce

When we were kids, Mom used to make a chocolate sauce for ice cream. I couldn’t remember the recipe so I poked around the web for a bit, found a recipe at https://barefeetinthekitchen.com. Of course I modified it (butter!).

  • 1C granulated sugar
  • 1/2 C cocoa powder ( I used Droste)
  • Pinch of salt
  • 1/2 C cold water
  • 1T vanilla extract
  • 1T butter

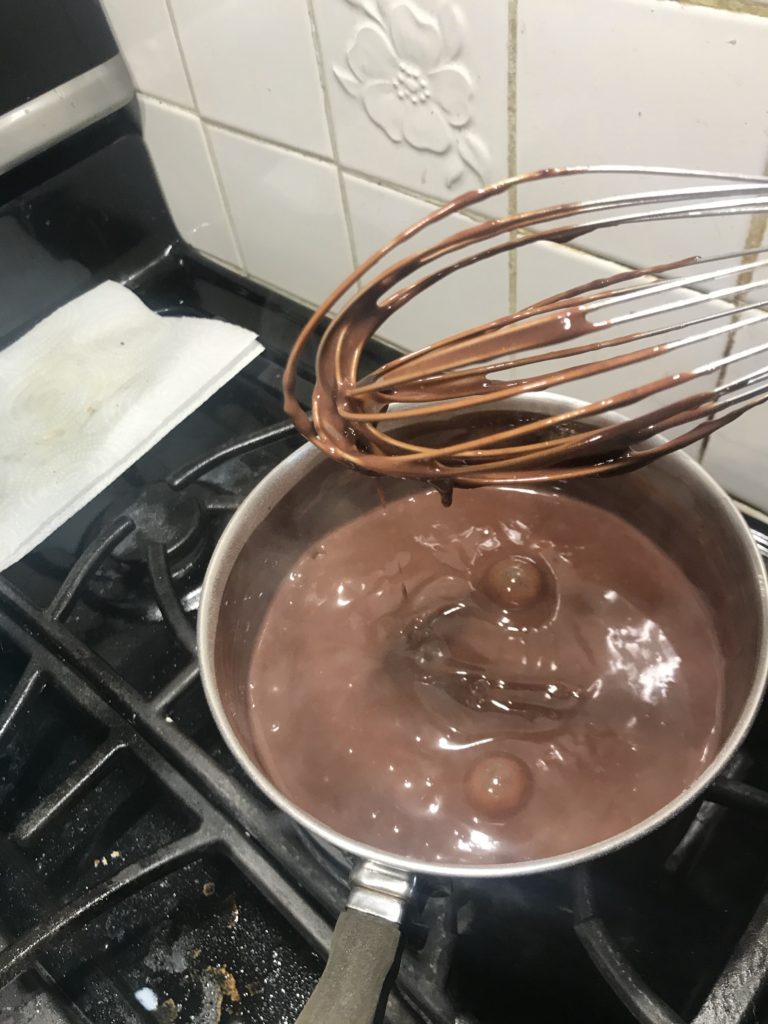
Combine the sugar, cocoa and salt in a small saucepan. Whisk the dry ingredients until all lumps break up. Sift if you lean toward fussy. Stir in the cold water and mix well before applying heat.

Gentle bring to a boil, then simmer for five minutes.

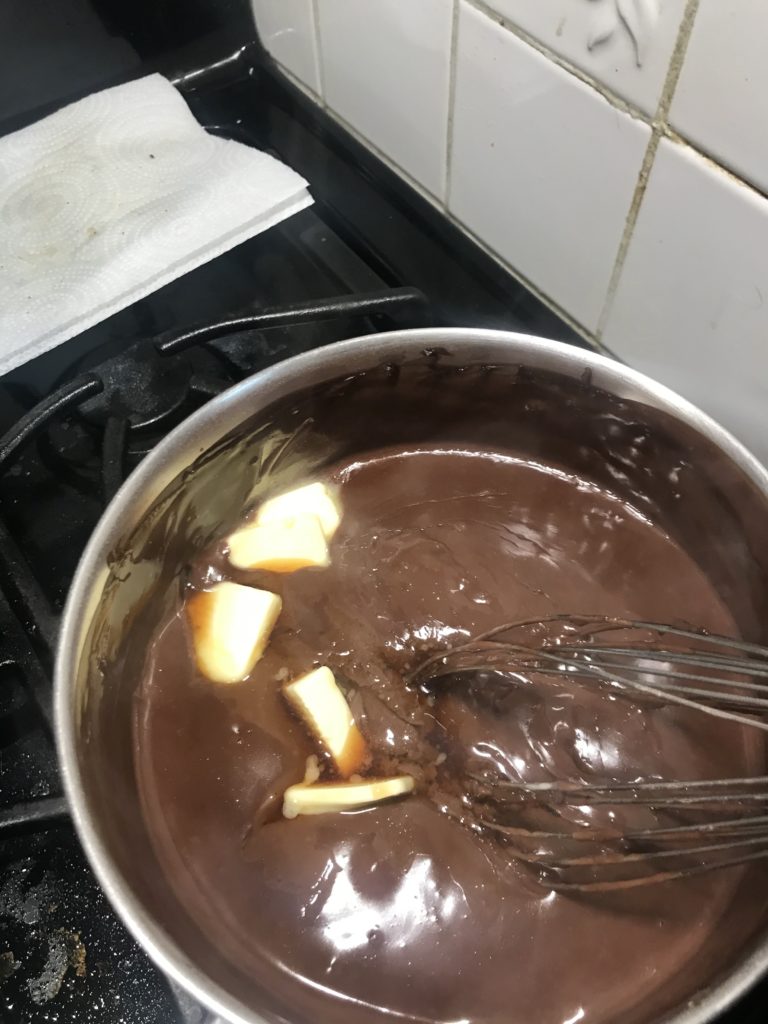
Let cool for a few minutes, then stir in butter and vanilla.

Great over ice cream.

Yield is about two cups, and if you have leftovers, it can be stored in the refrigerator for up to two weeks.

I made a second batch with half of the sugar replaced with corn syrup (just Karo light), hoping to avoid cold crystallization of the sugar. I’ll report back, perhaps with a modified or alternate recipe.

Scalloped potatoes for two

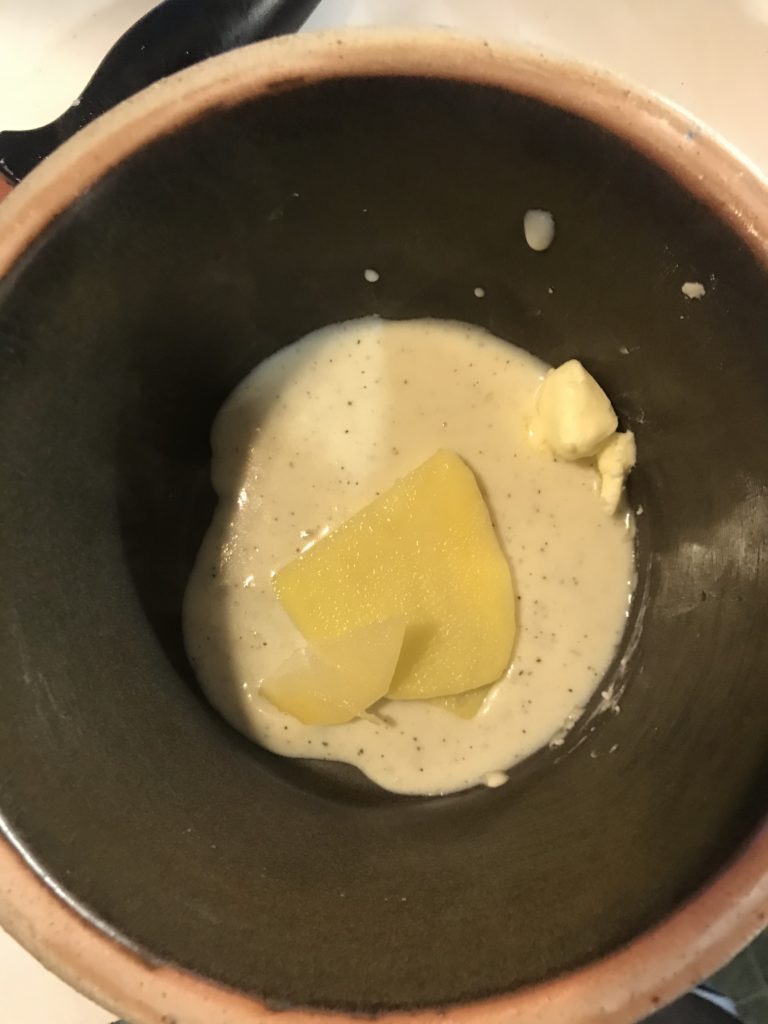
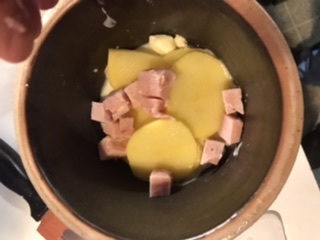
Peg and I don’t eat a whole lot at a time, and we’re headed away for holiday, so I needed to make a small batch of scalloped potatoes for dinner. We always add ham, and I had one on hand.

  • Two medium potatoes
  • 3 T butter, divided
  • 2 T flour
  • 2 C milk
  • 1/2 t pepper
  • 1 t salt
  • 1 C cubed ham

Peel and pare the potatoes thinly.

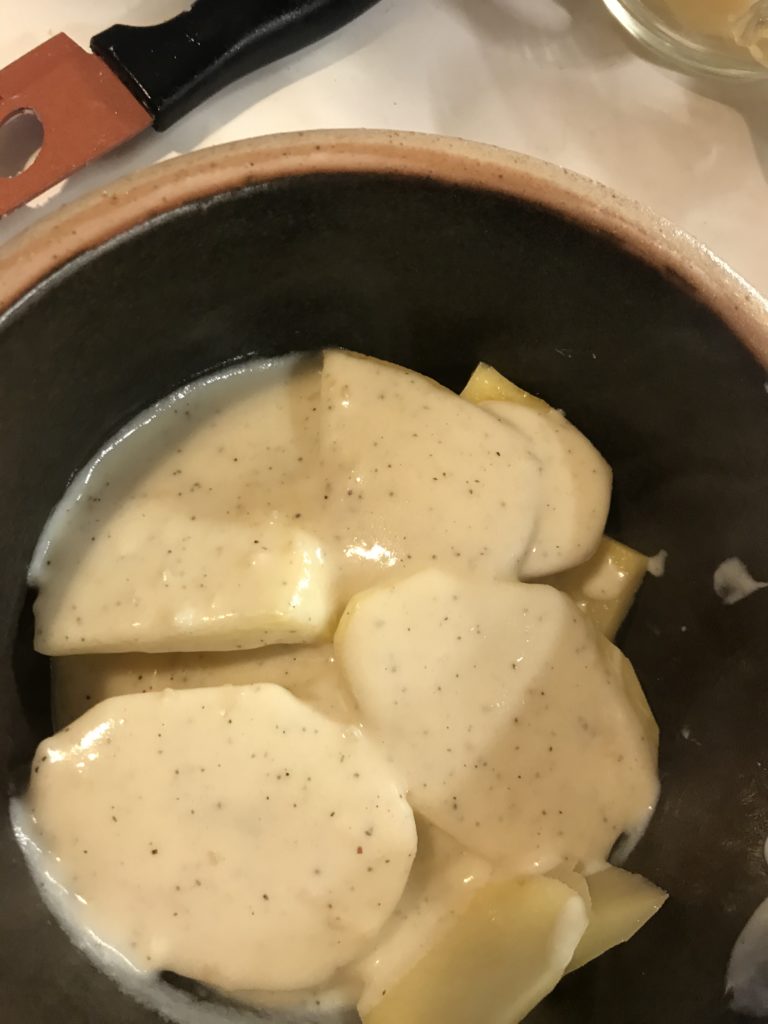
Melt the butter and flour to form a roux, cooking slightly. Whisk in the milk, add salt and pepper, and bring the mixture to a boil until thick enough to coat the back of a spoon. Spread 1T butter around the inside of a one-quart casserole.

Place a thin layer of white sauce in the bottom of the casserole. Alternate adding potatoes, cubed ham, and white sauce to fill the casserole.

Cover with foil and bake at 350F For 50 minutes. Uncover and bake another 30 minutes…

We like to serve ham and green beans with it.

(2025 update) I tend to make this about three times a month, and I don’t really use a recipe – I just make it by muscle memory. I currently bake for about 30 minutes under foil, and then another 70 minutes uncovered. The flavor of the crust that develops in that extra time is extraordinarily tasty.

Meatballs: ’tis the season, right?

Peggy signed us up for meatballs for the annual W1GZ Holiday Party. W1GZ is the call sign for the Montachusett Amateur Radio Club. Peggy and I are both hams.

So, anyway, Peg did a search and found “The World’s Best Meatballs” from a clever lady named Kristen. Well, never one to leave well enough alone, we slightly modified the recipe ( we wanted a less “Italian” meatball than Kristen was offering) by removing the Parmesan cheese and the garlic, and opting for half beef/half pork in the meat department.

Herewith, I guess we can call them “John’s Best Meatballs”, because they did turn out quite nicely. In fact, I’m doing this post as someone asked for the recipe!

Preheat oven to 450F and grease a large rimmed cookie sheet.

  • 1 # ground pork
  • 1 # ground beef
  • 1/2 C breadcrumbs (I used panko)
  • 1/4 C milk (any %)
  • 1/4 C chopped parsley
  • 1 C beef broth, divided (1/4 C in meatballs)
  • 1 egg
  • 1/2 T salt
  • 1 t pepper
  • 1 t oregano (one might argue removing this would make it even less “Italian”)
  • 1/4 t crushed red pepper flakes

Combine all but the ground meats in a large bowl, mixing well to form the panade, which will bind the meatballs.

Add the meats and mix until just combined, but not over mixed, which can toughen the meat texture.

Portion and roll meatballs about 1″ in diameter, spacing them closely on the cookie sheet. I use a small portioning scoop to make the work go faster and get better consistency than I manage on my own.

Pour the remaining 3/4 C of beef broth in the cookie sheet, and bake the meatballs for about 25 minutes, turning once halfway through.

The Hawaiian Meatball conclusion

This recipe came from Taste of Home and called for frozen store-bought meatballs, but hey, we can make those, right?

  • 1 20 ounce can unsweetened pineapple chunks
  • 1/2 C packed brown sugar
  • 1/4 C cornstarch
  • 1/2 C cider vinegar
  • 2 green peppers, cut into 1″ pieces
  • 1 10 ounce jar maraschino cherries, drained
  • 1 recipe of “John’s Best Meatballs”
  • salt and pepper to taste

Reserve the pineapple juice. Add enough water to make two cups. Place the juice, brown sugar, cornstarch and vinegar into a saucepan. Mix well, then heat gently to a boil; cook until the sauce thickens.

Combine the meatballs, peppers, pineapple, and sauce in a slow cooker. Cook on medium until the peppers are tender, mix in the cherries, and serve over white rice if desired.